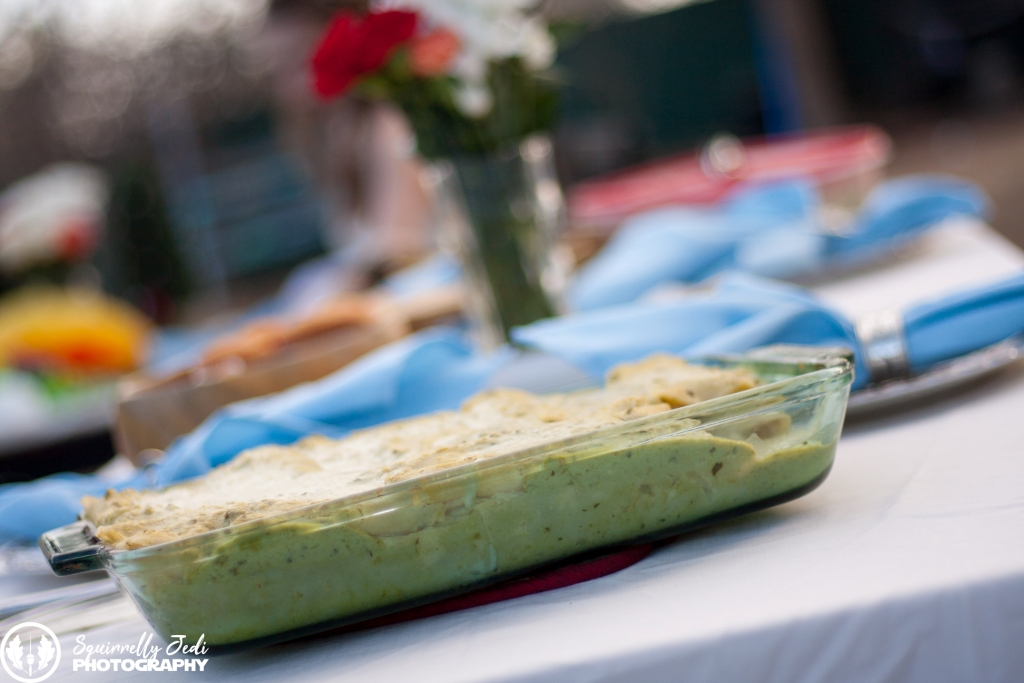
If you are interested in a casual, authentic Mexican home cook’s version of enchiladas verdes, this is it. It happens to be our new son in law’s favorite dinner, too, so having it in our repertoire is great.
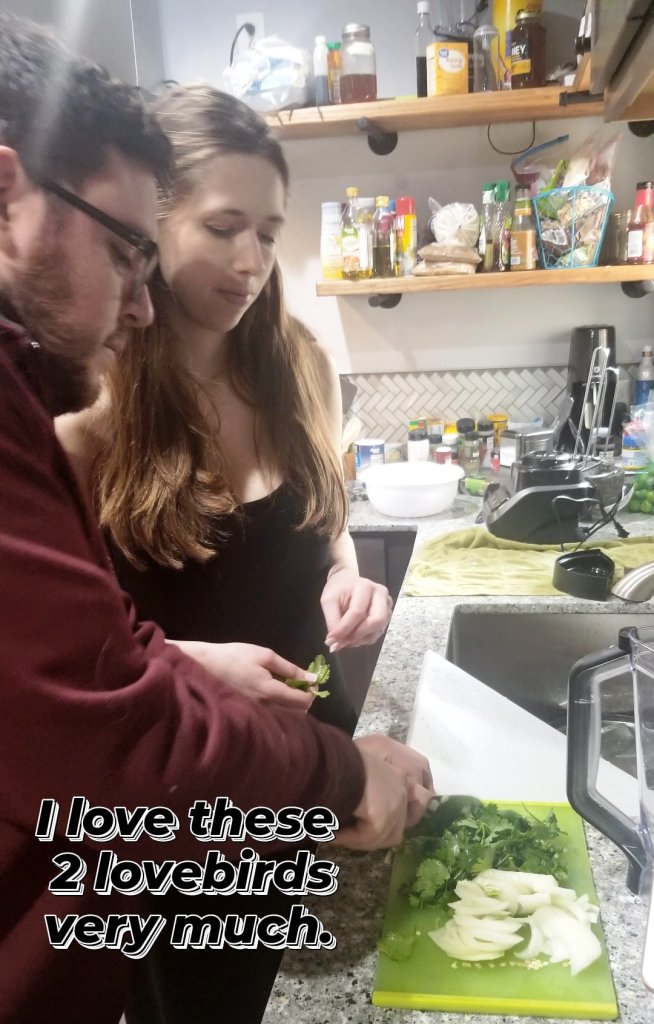
Araceli (Alex’s sweet Mom, the same lovely woman who taught me tamales one year ago and who is now family!!) taught Jessica to make it for our kids’ wedding dinnner; and a week later Jessica taught me. We had so much fun, and of course the finished product was fragrant and delicious, much better than anything you can get from even a very good restaurant.

What follows is more method than a precise recipe, though, so read through it for yourself then dive in! Araceli’s most pressing advice was to taste as you go.
Basic Ingredients:
* chicken meat, poached with onions, salt, and garlic
* several poblano peppers, charred
* chicken boullion cube, more onion & garlic, fresh cilantro
* can of “green chile” enchilada sauce
* lots of fresh tomatillos, removed from husk
* sour cream (about 1/2 cup)
* stack of fresh corn tortillas
* vegetable oil for frying
* good melting white cheese, like “oaxaca” or Monterrey Jack
* additional onions & cilantro for garnish
Prepare the Chicken First:
Poach several pieces of boneless chicken (we used breasts) with garlic cloves, salt, and large pieces of onion. Once the meat is cooked through and cool enought to handle, shred it, reserving the broth for making rice later.
Meanwhile, Prepare Sauce Ingredients:
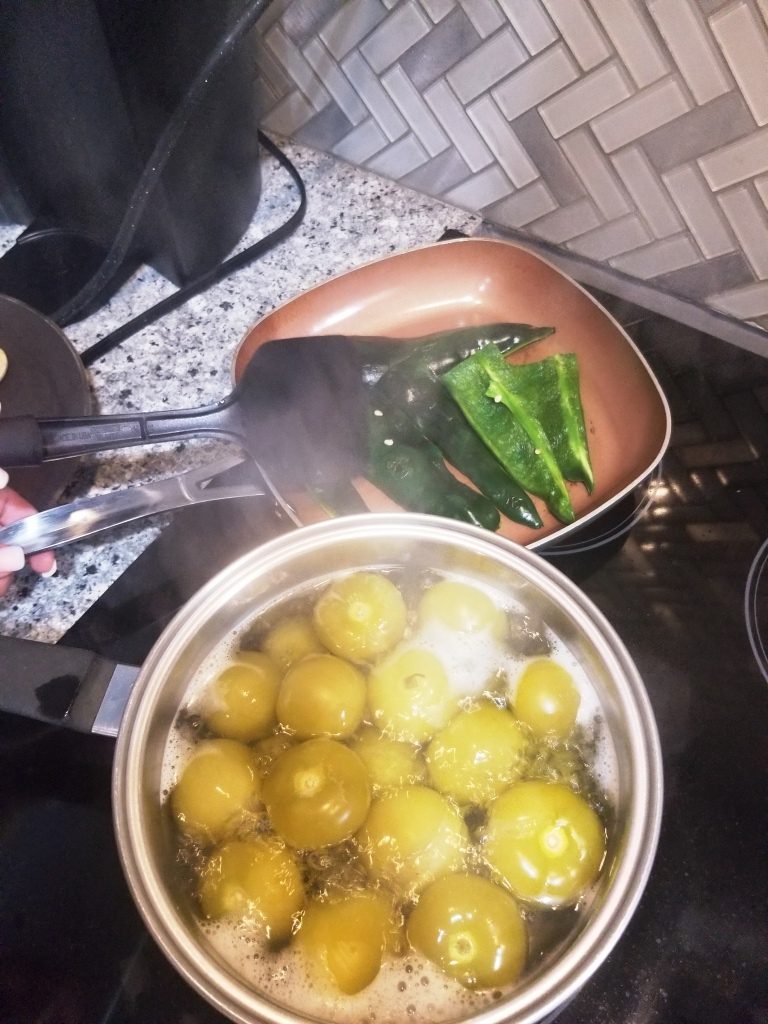
The bright green sauce flavor comes from cilantro, sure, but mostly from charred poblano peppers (slice and hull them first then cook aggressively in a hot skillet with scant oil or use an open flame or broiler to char the skins and soften the plump parts) and cooked tomatillos (remove husks then boil until they change color and begin to burst). Do the charring and the boiling while your chicken cooks, and gather your other sauce ingredients.

Make the Sauce in a High Speed Blender:
(Also make sure your blender is heat proof. If it’s not, consider using an immersion blender or different method.)
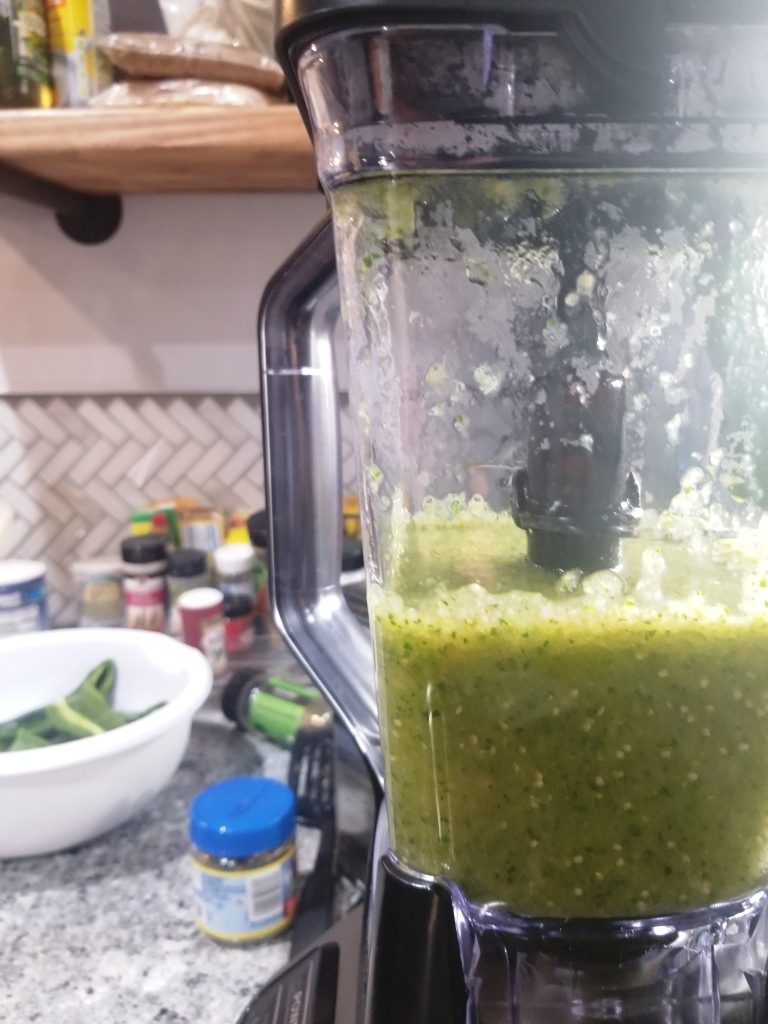
Working in 2 or 3 batches, blend together the sliced and charred peppers, the cooked tomatillos (these will be more yellow than green once cooked), chopped onion, bunches of fresh cilantro (stems partially removed), a can of verde sauce, and around 1/2 cup sour cream. Taste as you go. Add garlic, salt, etc. The sauce should emulsify and become a smooth, bright green color. The photo that follows is of the sauce before Jess added sour cream:

Prepare Assembly Line: Fry, Dip, Fill, Roll, Top, Bake.
* Consider assembling enchiladas with at least one other person. The process goes more smoothly, and it’s lots of fun! We worked from right to left, starting with a stack of corn tortillas, followed by the stovetop hot oil, then the green sauce for dipping, the bowls of chicken, cheese, and onion, and finally the prepared baking dishes for receiving the rolled up enchiladas. I believe Jess added more onions and cheese at the end!
* The enchiladas will ultimately be rolled and placed snugly into a deep baking dish, which will go into a hot oven for melting. Prepare that baking dish (or a few, if you are making lots) and preheat the oven to about 350* F.
* Have green sauce ready in a bowl, along with seperate bowls of shredded chicken, lots of white cheese, and chopped onion.
* Heat a skillet or saucepan with vegetable oil, for soft-frying the corn tortillas.
* Play some fun music and make some memories!
Make Soft, Pliable Enchiladas:
* The secret to tender enchiladas turns out to be individually dipping the corn tortillas first in very hot oil (not long enough to make them very crispy, but long enough to get them bendy and hydrated with oil) then in the warm green sauce, all before filling. Filling cold tortillas would make for dry, cracked tortillas in the finished prodcut, which is no fun.
* Once each tortilla is dipped in hot oil then green sauce, it gets filled with scoops of moist chicken, some melt-worthy white cheese, and chopped onion. Tuck them seam side down, snugly in the baking dish.
* Pour remaining warm green sauce all over the uncooked enchiladas and top it all with remaining white cheese, more onions if you like.
* Bake until the cheese melts and is lightly touched with gold.
* Top with more cilantro, or tomatoes. Enjoy!!

We will be making these at the farm regularly, especially when fresh tomatillos and peppers are growing. If you know my husband, you might be curious how he likes green enchiladas. He loves them! Because he is allergic to onions, Araceli made a large batch of enchiladas sin cebolla just for him, for the wedding feast. So thoughtful! And of course when I make them here that’s what I’ll do, too.
Heartfelt thanks to my daughter for sharing her Mother in Law’s family recipe, and to Araceli for continuing to feed us all so well, with food and love.
Happy cooking, friends! And happy memory making and happy garden daydreaming!
“Give up the illusion that you can
throw Mexican food together.
Just understand that you are going to
have to make and take the time.”
~Denise Chavez
XOXOXOXO